

Boomerangs have been around for thousands of years and are known for their unique flight patterns and cultural significance. While originally designed as a hunting tool, boomerangs are now used for recreational purposes, including boomerang throwing competitions and backyard games. Making your own boomerang can be a fun and rewarding activity that allows you to customize the design and experiment with different flight patterns.
Boomerangs have a rich history and cultural significance, particularly in Indigenous Australian communities, where they have been used for thousands of years. These fascinating objects have evolved over time, from simple hunting tools to intricate sporting equipment.
Making your own boomerang can also have many benefits, including enhancing your creativity and problem-solving skills, as well as providing an opportunity to spend time outdoors and engage in a fun physical activity. Whether you are a beginner or an experienced boomerang enthusiast, learning how to make your own boomerang is a fulfilling and enjoyable experience.
Crafting the Perfect Boomerang
Boomerangs come in many different shapes and sizes, each with its own unique flight pattern. Understanding the types of boomerangs is essential when making your own, as it will determine the design and shape you need to achieve the desired flight path.
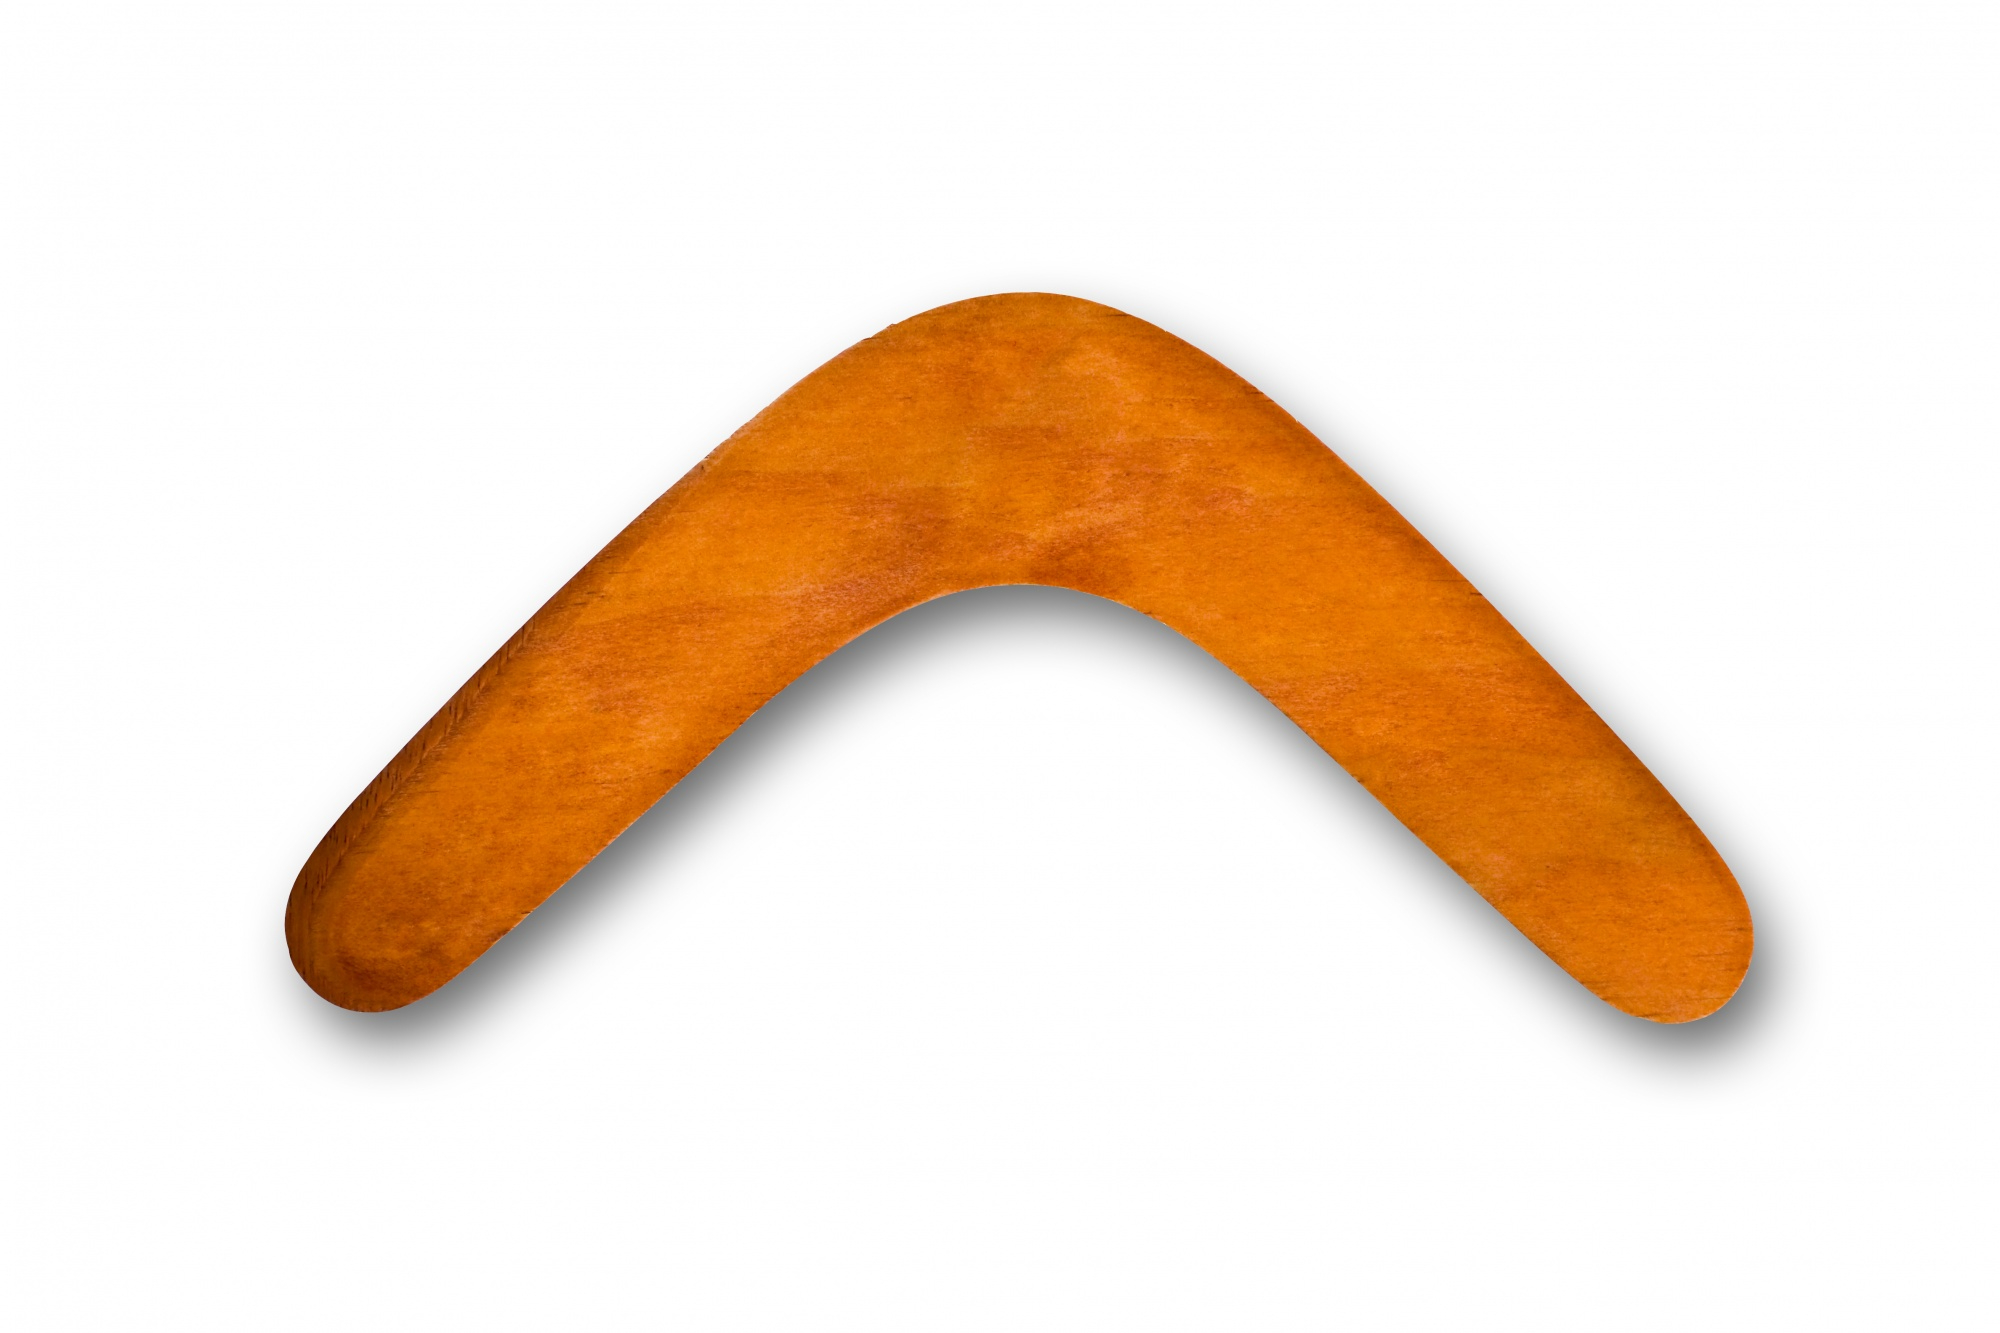
The most common type of boomerang is the returning boomerang, which is designed to come back to the thrower when thrown correctly. These boomerangs have a distinctive V shape and are often made of wood or plastic. They work by creating lift on one side of the boomerang, causing it to spin and curve through the air before returning to the thrower.
Non-returning boomerangs, on the other hand, do not come back to the thrower and are often used for distance throwing competitions. These boomerangs are typically larger and heavier than returning boomerangs, and are designed to fly in a straight line or a gentle curve.
There are also boomerangs designed for trick throwing, such as the fast catch boomerang or the boomaball. These boomerangs are smaller and lighter than traditional boomerangs and are often used for freestyle competitions or for playing catch with friends.
In summary, understanding the types of boomerangs is crucial when making your own. Whether you are looking for a boomerang that returns to you, flies in a straight line, or performs tricks, there is a boomerang out there to suit your needs.
How to Make a Boomerang
Making a boomerang is a fun and rewarding activity that requires a few key materials. The materials you choose will depend on the type of boomerang you want to make and your personal preferences. Here is a list of the essential materials needed to make a boomerang:
- Wood: This is the most common material used for making boomerangs, and there are many types of wood to choose from. Some popular options include birch plywood, balsa wood, and spruce.
- Sandpaper: Sandpaper is necessary for smoothing out the edges and surface of the boomerang. Choose a fine-grit sandpaper for a smoother finish.
- Saw: A saw is used to cut the wood into the desired shape and size. A jigsaw or handsaw can work well for this.
- Wood glue: Wood glue is essential for holding the boomerang together. Choose a high-quality wood glue that dries clear and has a strong bond.
- Varnish: Varnish or sealant is used to protect the wood from moisture and wear. Choose a clear, durable varnish for the best results.
In addition to these materials, you may also need a ruler, pencil, and a template for your boomerang design. With these materials, you can create a boomerang that is uniquely your own and ready for some high-flying fun.
From Start to Finish
Making a boomerang can be a fun and rewarding experience, but it can also be a bit challenging if you’re new to the craft. Here is a step-by-step guide to making a basic boomerang:
- Choose your wood: Select a sturdy, lightweight wood that is easy to work with, such as birch plywood or balsa wood.
- Cut out your template: Use a ruler and pencil to draw the shape of your boomerang onto the wood. Then, use a saw to cut out the boomerang shape from the wood.
- Sand the edges: Use a fine-grit sandpaper to smooth out the edges of the boomerang, and then sand the entire surface of the boomerang to create a smooth finish.
- Add the bevel: Use a knife or chisel to create a beveled edge on both sides of the boomerang. This will help to create the boomerang’s flight pattern.
- Add the wings: Cut out two smaller wing shapes from the remaining wood and attach them to the boomerang with wood glue.
- Varnish the boomerang: Apply a clear, durable varnish or sealant to the boomerang to protect it from moisture and wear.
- Test your boomerang: Once the varnish is dry, take your boomerang outside and give it a test flight.
The Dos and Don’ts of Boomerang Testing
Remember to take your time and be patient as you work on your boomerang. It may take a few tries to get the shape and bevel just right, but with some practice, you can create a boomerang that soars through the air with ease.
After you finish making your boomerang, it’s important to test it to ensure it flies properly. Here are some tips on how to test your boomerang:
- Find an open area: Choose a clear, open space to test your boomerang, away from trees, buildings, and other obstacles.
- Hold it correctly: Hold the boomerang by the tips of the wings, with the curved side facing away from you.
- Aim and throw: Aim your throw slightly upwards, and give the boomerang a firm, straight throw. Be sure to throw it with enough force to make it spin.
- Watch the flight pattern: Observe the boomerang’s flight pattern. Ideally, it should fly in a large circle and return to your location. If it flies too high, too low, or veers off course, it may need some adjustments.
Common mistakes to look out for include making the boomerang too heavy, too thin, or not properly shaped. You may need to adjust the shape or the angle of the bevels to achieve the desired flight pattern.
Remember, practice makes perfect when it comes to boomerangs. Keep testing and adjusting your boomerang until it flies just right. With some patience and perseverance, you can create a boomerang that soars through the air with ease.